Sometimes, the things you wrap need an expanded base. One conventional way of doing it is to make an expanded base, like those at the bottom of paper bags.
I've been creating some 'envelope art' out of what I already have and pieces of artwork that often have supposedly lost their value since they no longer publicize. This is one simple folding method I use sometimes to substitute for just folding an end over and taping it down. I like that it chisels away the corners and tucks them in...subtle details to make my envelopes look nicer.
This is a sub-post in relation to a guest post I am writing for The Re-Use Partnership based in Essex, UK.

1. After you fold up this end of the envelope, open the fold so that you see the inside of the envelope. If you want a huge base or a huge corner for tucking in, fold up a greater length.
2. Tuck the left and right spine of the envelope inwards and press it down.
Result: Two triangles with their arrows pointing outwards away from each other.

3. Fold one of the long sides inward into half. You can fold it more inward if you want a smaller base, but half is the minimum so that the base would be complete and stable.
4. Do the same for the other long side.
Result: An almost-ready base! Look below.

5. Tape the folded sides. I like to make my strips of tape longer than the length of the long sides so that I can tape across the entire length of the base to keep it sturdy.
If you are making the base for purely aesthetic reasons (i.e. you don't need the expandable base), continue on:
6. Fold the base into half along the crease it already has. All the folding and tape you used should be nicely hidden away now - like how you would fold up any paper bag!

And now you have a baby corner that is nicely tucked in.
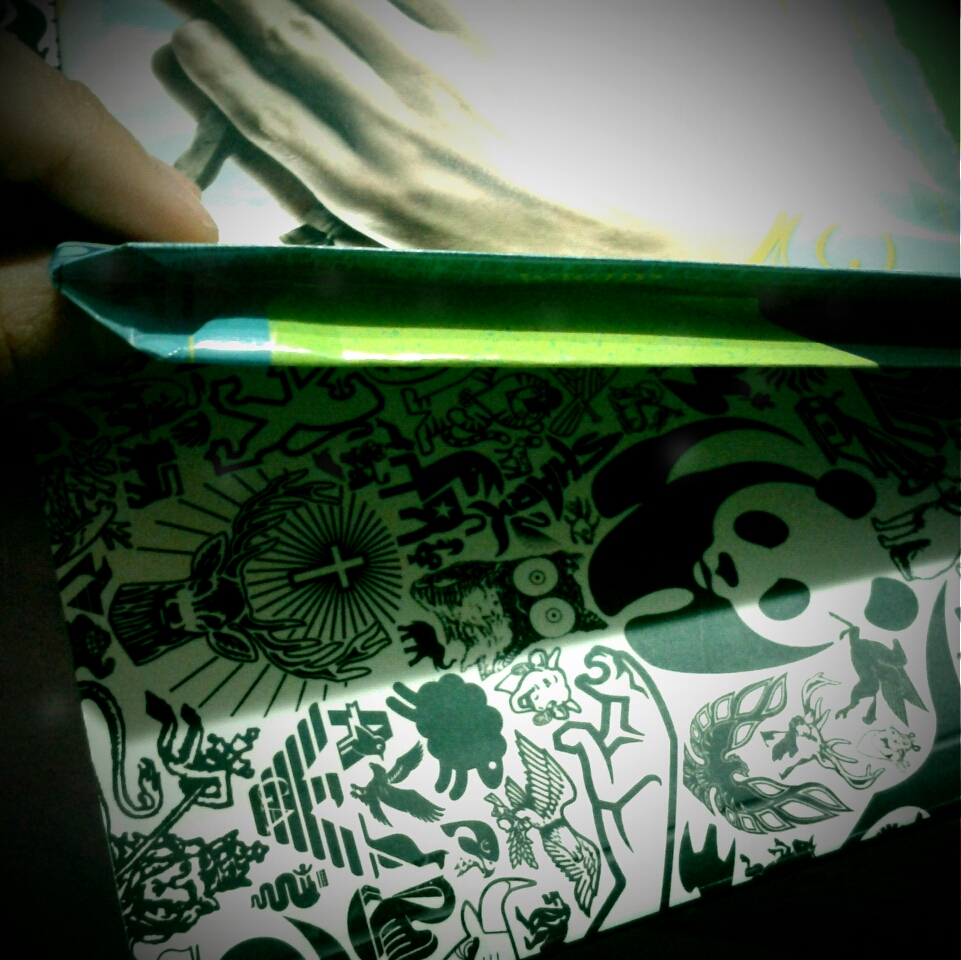
Intense logos courtesy of Kult magazine's issue on animals
Paper courtesy of LePa(r)k and Singapore International Film Festival
No comments:
Post a Comment